SharePoint 2013 – Configure Central Administration on multiple servers

SharePoint 2013 – Configure Central Administration on multiple servers
In some best practices you will read that it is recommended to install the Central Administration (CA) on multiple servers.
This way the Central Administration will be accessible also if the hosting Central Administration server will be down.
But if you just configure or install the Central Administration on multiple servers then you will see the effect that all servers still referencing to the old first instance from your current CA.
To prevent this you have to configure some AAM’s (Alternate Access Mappings) and modifiying an registry key on all hosting CA servers.
Overview:
- Install Central Administration on multiple servers
- Configure additional Alternate Access Mappings for the newly created CA’s
- Modifiy the Central Administration shortcut on your servers.
Step1:
You can use the SharePoint Product Configuration Wizard to install the CA Central Administration on the current server.
In the last step from the Wizard click on: Advanced Settings –> And select that you like to host the Central Administration (CA) on this server.
Attention: This will invoke a Farm downtime
Step2:
Open your Central Administration –> Application Management –> Configure alternate access mappings :
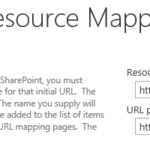
Here click on Map to: External Resource and create a new mapping for each additional server who is hosting an Central Administration.
Example: Resource Name: http://server:port | URL protocol, host and port: http://server:port
Screenshot:
Info: After Step2 your Central Administration would be availbable throug the new configured url. But the shortcuts on your servers will still referencing to your first CA instance.
Step3:
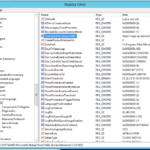
Open the following registry key: HKLM\SOFTWARE\Microsoft\Shared Tools\Web Server Extensions\15.0\WSS and change the value from: CentralAdministrationUrl to your configured AAM values.
Screenshot:


